<= Press here to hear bonnyportmore midi in thebackground
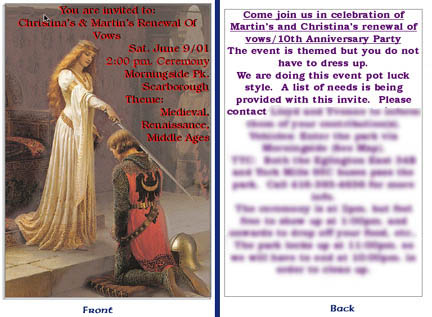
Ourinvitations were fairly easy. We used a front and back format usedfor store bought/make your own postcards and blocked out the cards.We chose a picture that we really liked and saved it into Photoshopat the appropriate size. I copied and pasted the whole image onanother layer. I first took the image in the front and selected thebrightness and contrast option. I threw the brightness on high andthe contrast on low. I just played until the image was subtle. I thenthrew the lighter image in the background and brought the clear oneforward. Using the erase tool first at 100% for the outer edge andthen working down to roughly 25% closer to the figures I erased theareas around them from the front/clearer image. This created the'fog' effect which left me plenty of subdued area to type theinformation on. Once happy I saved 4 of them on one page and printedthem out on canvas paper.
Thebacks were blocked out at the same size and then the canvas wasreturned to the printer to be printed on the back. Then it was just amatter of cutting them out and mailing them in anenvelope.
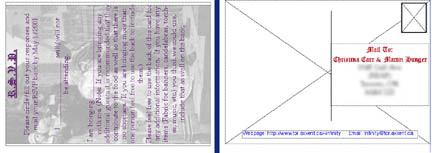
TheRSVPs were done basically the same way except that they were printedon postcard stock and as a postcard. I faded the whole image andplaced the information over top encouraging people to make anyadditional notes on the back. The back was set up like a postcard andhad the mailing address and the stamp in place. All the guest had todo was fill in their name, their guest's name, and any other info,and stick it in the mail.
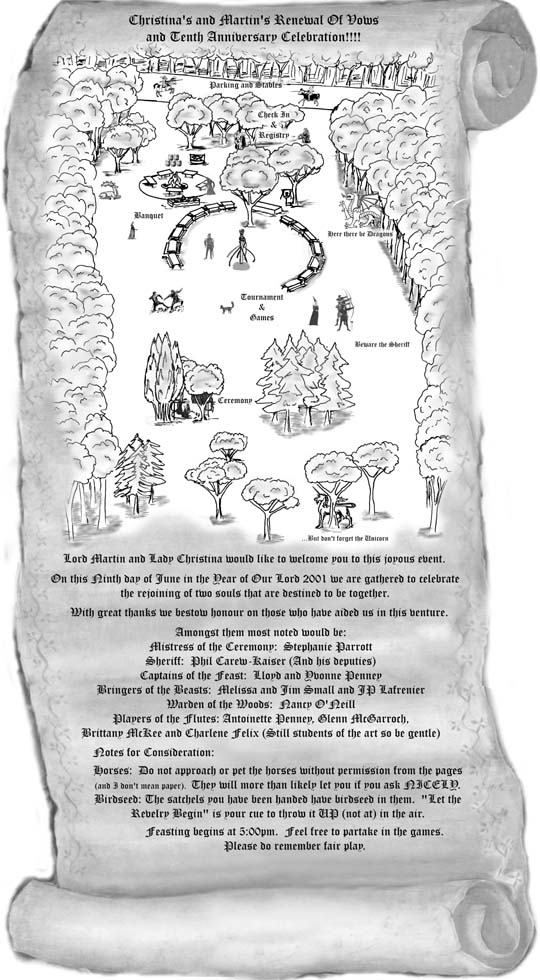
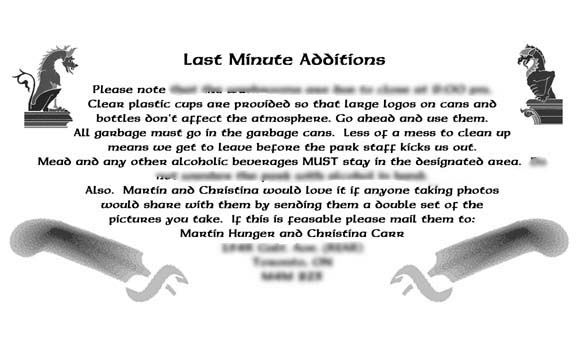
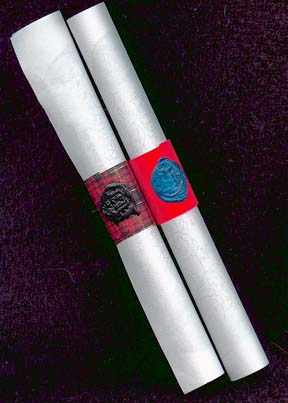
Thescrolls for handing out and the last minute additions were just amatter of dropping various images into Photoshop and layering them invarious areas until they looked right. Then it was just a matter ofprinting them out and rolling them up.
Oncerolled I picked up some ribbon from a dollar store. I went lookingfor sealing wax and a stamp of some sort and found that the priceswere ridiculous and unreasonable so.... I had a ton of coloured hotglue sticks left over from the time I did kid's crafts. I also founda 'crest' brass button pair for $1.50 at a fabric store. I wrappedthe ribbon around the scrolls, held on with one hand while I'globbed' hotglue in a wax like manner, then once it was half dry Irolled as I pressed the button down on the glue. Note: Use a smallamount of Vaseline on the buttons. If you brush this on lightlybefore each press the button is less likely to stick. If it doesn'twork just press the hotglue gun to the hotglue and re-melt it alittle then try again.
what Ilike about this is the fact that the hotglue will not crack like waxwill. It may not be 100% authentic but it works well and that is whatmatters to me.
This isnot, by all means, all of the little tricks we used but it is allthat I have time for. I hope it helps some of you accomplish thegoals that you set out to accomplish.